In today’s digital world, ensuring the security and authenticity of online transactions has become essential. One powerful tool that helps achieve this is the digital signature. If you are wondering how to obtain a digital signature in India or how to apply a digital signature easily, this guide will walk you through the complete process. Let’s dive straight into it.
What is a Digital Signature?
A digital signature is an encrypted electronic stamp of authentication. It verifies the identity of the signer and ensures that the document remains unchanged after signing. In India, digital signatures are legally valid and recognised under the Information Technology Act, 2000.
Why Do You Need a Digital Signature?
You need a digital signature for various online activities. For instance, if you are filing income tax returns, registering a company, participating in e-tenders, or signing documents electronically, a digital signature becomes crucial. Furthermore, using a digital signature reduces paperwork, saves time, and ensures higher security.
Types of Digital Signatures in India
Before you learn how to apply a digital signature, you must understand its types. In India, digital signatures come in three classes:
- Class 1 DSC: Verifies the user’s email ID and contact details. Mostly used for securing email communications.
- Class 2 DSC: Useful for filing documents with the Registrar of Companies (ROC) and the Income Tax Department. But it is discontinued now.
- Class 3 DSC: Used for participating in e-tendering and e-auctions. It offers the highest level of security. After the discontinuation of Class 2 DSC, we are using Class 3 DSC for all purposes.
Selecting the right class depends on your purpose. Hence, identify your needs before you proceed.
Documents Required to Obtain a Digital Signature
To complete the process smoothly, prepare these documents in advance:
- PAN Card (optional for Aadhaar verification)
- Any one address proof document, like Aadhaar Card or Passport or Driving License or Voter ID.
- Passport-size photograph (optional for Aadhaar verification)
- A mobile number and email ID of the applicant.
Gathering these documents beforehand will help you apply without any delays.
How to Obtain a Digital Signature in India: Step-by-Step
Now, let’s understand how to obtain a digital signature easily. Follow these steps carefully to get your DSC without any hassle.
Step 1: Choose a DSC Registration Authority (RA) or Certifying Authority (CA).
First, select a DSC Registration Authority or Certifying Authority. Refer to the table below for some of the prominent RAs and CAs in India.
| Prominent RAs | Prominent CAs |
|---|---|
| Apicountry | Sify |
| ePass2003 | NSDL |
| WD Proxkey | IDRBT |
| Satasign | CDAC |
Since the main objective of CA is software development, they don’t actively provide an end-to-end customising solution to the public. Therefore, they appoint RAs under them. RAs are the bridge between the general public and CAs for the issuance of digital signatures and providing general services.
Each CA has its own pricing and procedure, although the basic steps remain the same.
Step 2: Select the Type and Validity
Choose the type, like Class 2 or Class 3 and the validity period. Typically, digital signatures are valid for one, two or three years only. However, you can renew them easily after expiration.
Step 3: Fill out the Application Form
Visit the RA’s website and fill out the digital signature application form. Provide accurate details like your name, address, PAN number, and contact information. Even a small mistake could cause delays, so double-check your entries.
Step 4: Complete Identity Verification
Next, complete the identity verification. You can do this either offline or online:
- Offline Verification: Submit your documents physically to the RA or CA. Check the Apicountry (RA) office location to submit offline documents. But we suggest trying our secure and quick online paperless verification process.
- Online eKYC Verification: Use Aadhaar-based OTP or video verification.
Online verification speeds up the process significantly. Therefore, choose it if you are comfortable.
Step 5: Make the Payment
After submitting your documents, pay the applicable fee. The cost varies depending on the class of the DSC, validity period, and the USB token you choose.
Step 6: Receive Your Digital Signature Certificate
Once the verification is successful, you will receive your digital signature. Generally, it is provided in two ways:
- As a downloadable file that you can store on your computer. However, the Indian IT Act does not allow this now.
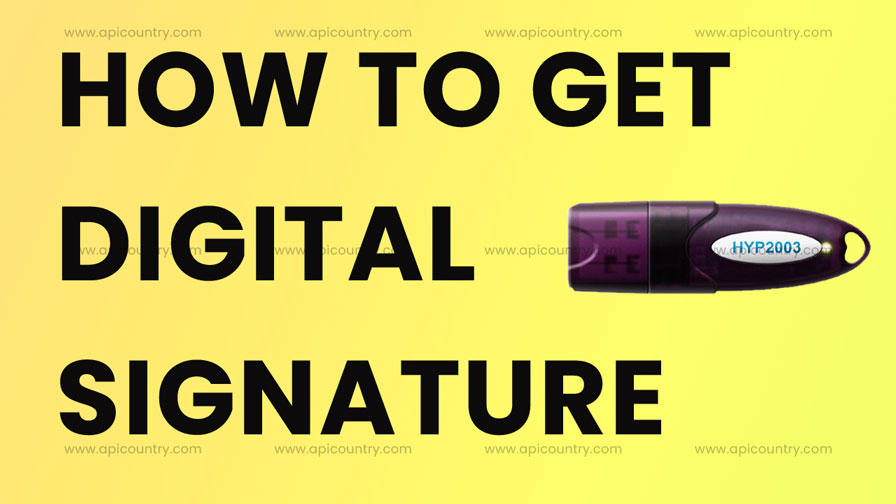
- Loaded onto a secure USB token, known as a “cryptographic USB token.”
Using a USB token adds an extra layer of security. As a result, it is highly recommended for business or legal use.
How to Apply a Digital Signature to Documents
After you receive your DSC, you must know how to apply a digital signature to documents:
- Install the DSC software or USB Token driver.
- Connect your USB token to your computer.
- Open the document you want to sign (PDF, Word, etc.).
- Choose the “Sign” option.
- Select your digital certificate.
- Apply your signature and save the document.
Thus, signing documents digitally becomes effortless and secure.
Common Mistakes to Avoid When Applying for a Digital Signature
Many applicants face delays because of small errors. To ensure a smooth experience:
- Double-check your PAN and Aadhaar details.
- Upload clear and legible scanned copies.
- Provide a valid mobile number and email ID.
- Complete video verification carefully.
By following these simple precautions, you can speed up your application process significantly.
How Much Time Does It Take to Get a Digital Signature?
Usually, if you complete your application and verification correctly, you can get your digital signature within 15 to 20 minutes. Apicountry also offer instant DSC issuance through the Aadhaar eKYC process for Individual applicants.
However, if there are discrepancies in your documents or verification, it might take longer. So, make sure you submit everything correctly the first time.
Renewal of Digital Signature
Digital signatures expire after one, two or three years, depending on your selected validity. Fortunately, renewing your digital signature is even easier than obtaining it the first time. Simply contact Apicountry or fill out our DSC renewal form online, complete any verification needed, and pay the renewal fee.
You can also choose to upgrade your DSC type during renewal if your business needs have grown. It means you can upgrade your signature only dsc to signature with encryption dsc during the renewal process. Similarly downgrade is also possible.
Is It Safe to Use Digital Signatures?
Absolutely! Digital signatures use strong encryption methods, making them highly secure. Additionally, using DSC reduces the risk of document forgery and provides a clear audit trail.
Nevertheless, you must protect your USB token or stored file. Never share your private key with anyone. Moreover, always keep your device updated with the latest security patches.
Final Thoughts
Now you know exactly how to obtain a digital signature and how to apply a digital signature in India. Whether you are an entrepreneur, a professional, or an individual needing secure document signing, getting a digital signature is no longer complicated.
Choose a reliable DSC provider like Apicountry with a very good past record and established business operation, follow the process carefully, and you will be ready to sign documents digitally in no time. Furthermore, as digital adoption grows across industries, having a DSC will soon become an essential asset.
If you found this guide helpful, share it with others who might benefit. After all, knowledge grows when shared!

